Step-By-Step Guide to DIY Car Glass Repair

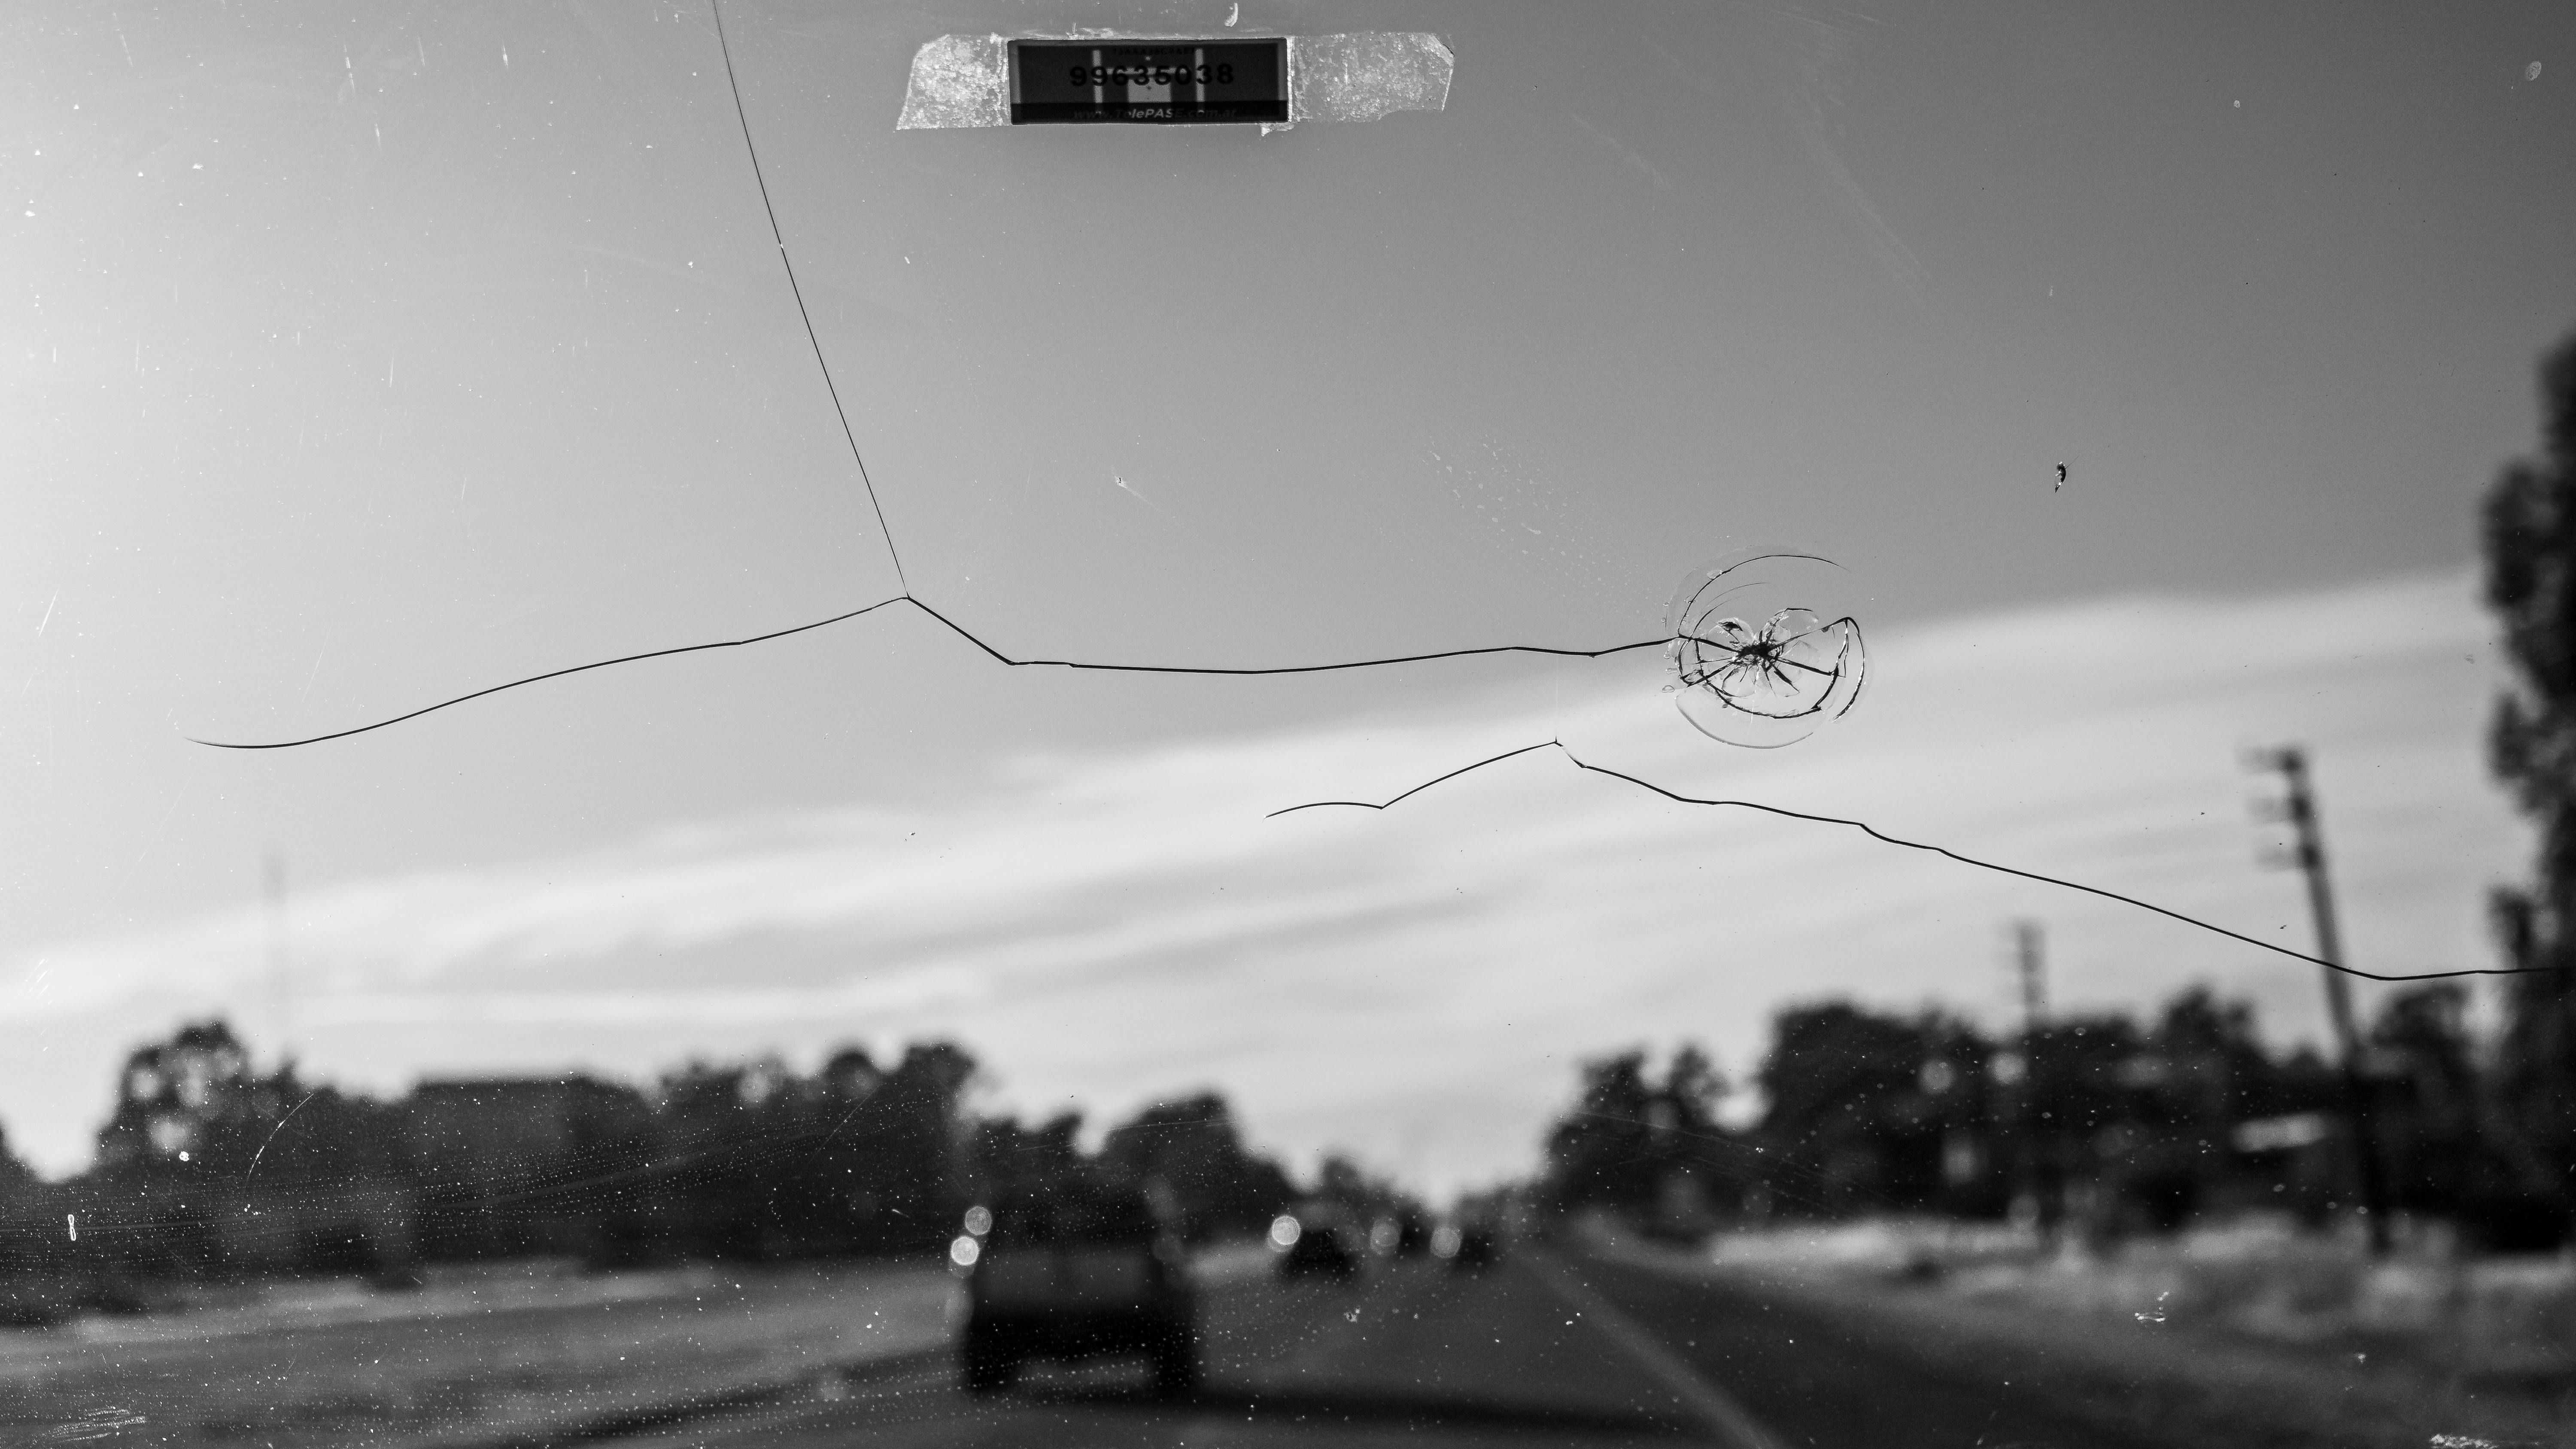
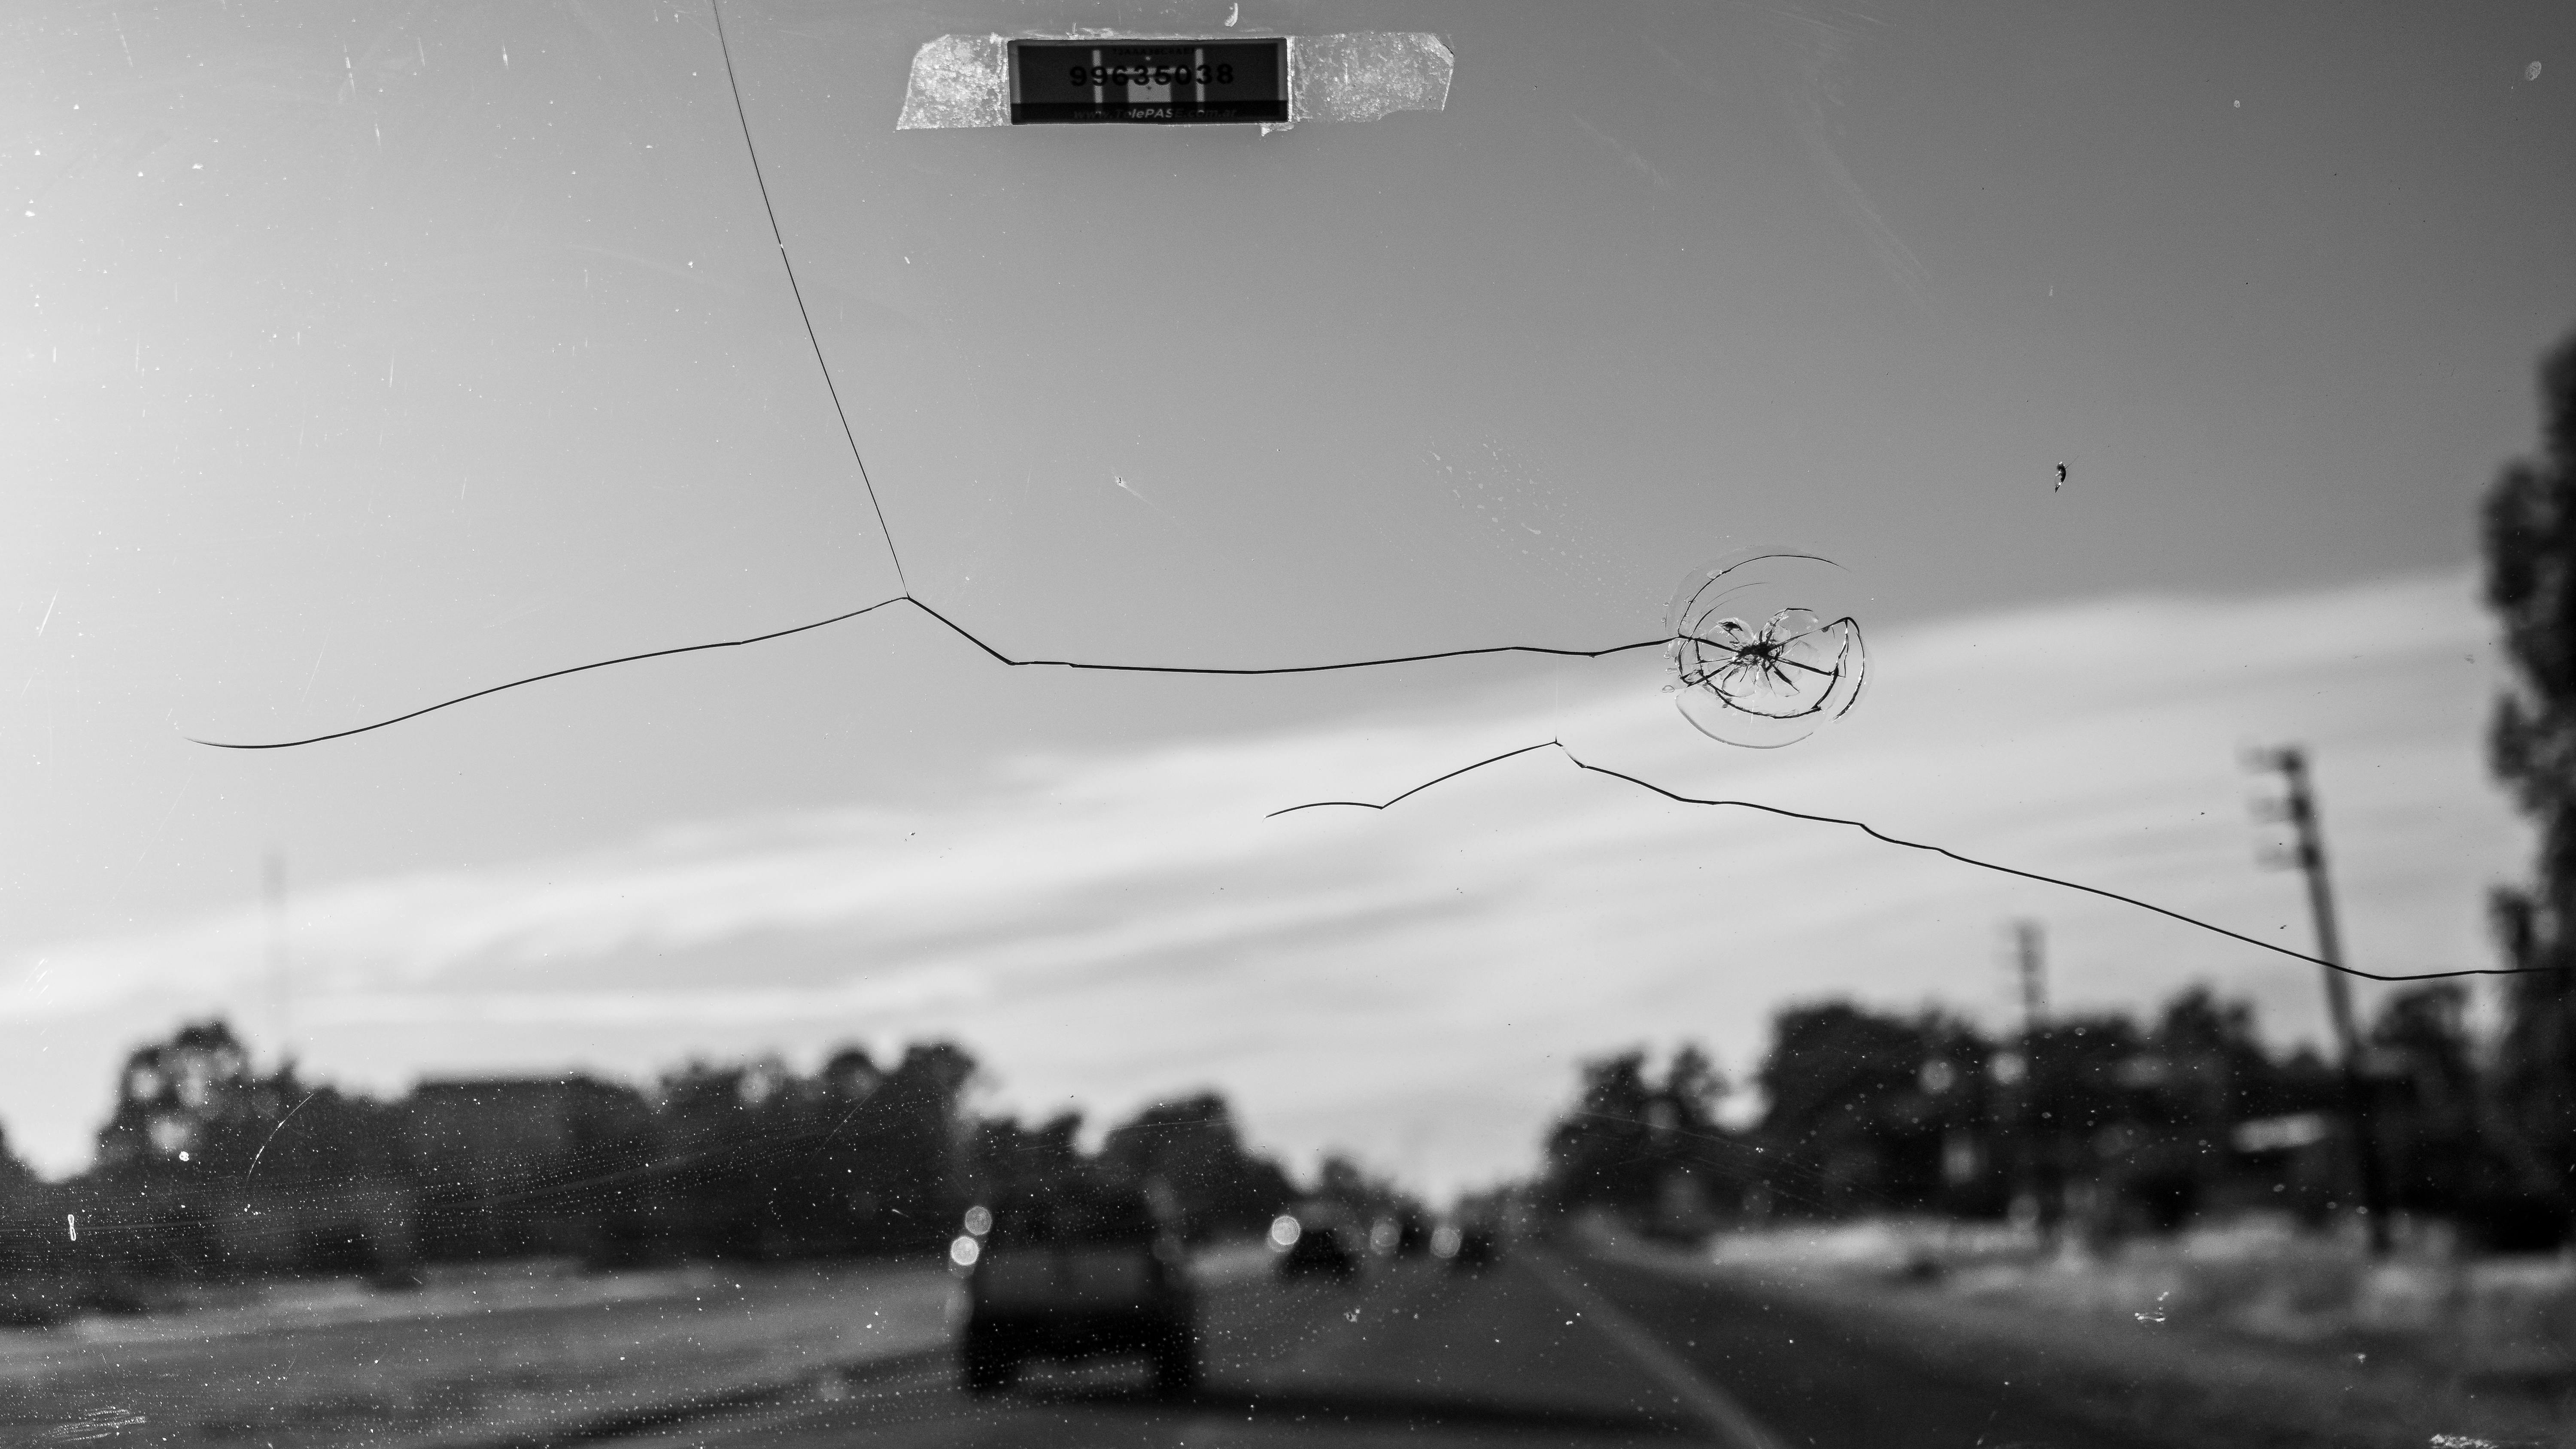
A cracked or chipped windshield is more than just an aesthetic issue; it can be a serious safety hazard. Windshield damage can obstruct your view and compromise the structural integrity of your vehicle. While professional repair services are always an option, many minor windshield damages can be effectively fixed with a DIY approach. This guide will walk you through the process, detailing the tools you need and offering step-by-step instructions for a successful repair.
Tools You Need
Before you begin, gather the necessary tools and materials. Most of these tools can be found in a standard windshield repair kit, which is readily available at auto parts stores or online.
Windshield Repair Kit: These kits typically include resin, an applicator, and curing strips.
Razor Blade: Used for removing excess resin.
Glass Cleaner: Essential for cleaning the windshield before and after the repair.
Paper Towels or Clean Cloths: For cleaning and drying the glass.
Tape: To mark the area around the chip or crack.
UV Light or Sunlight: Necessary to cure the resin.
Step 1: Prepare the Windshield
The first and most crucial step in windshield repair is cleaning the damaged area. Use a quality glass cleaner and a clean cloth to thoroughly clean the windshield around the chip or crack. Remove all dirt, dust, and debris to ensure the resin adheres properly.
Once the area is clean, place a piece of tape on the inside of the windshield directly opposite the chip or crack. This helps you locate the damaged area from the outside, making the application process easier.
Step 2: Assemble the Repair Kit
Different windshield repair kits may have slightly different components and assembly methods. Follow the instructions provided with your specific kit to assemble the applicator. Typically, this involves attaching suction cups and aligning the resin chamber over the damaged area.

Step 3: Apply the Resin
Attach the applicator to the windshield so that the resin chamber is directly over the chip or crack. Ensure it is securely in place to avoid any leakage.
Add a few drops of resin into the chamber, following the amount recommended in the kit’s instructions. The resin is the key component that fills the crack and bonds the glass together.
Use the applicator to force the resin into the crack. Depending on your kit’s design, this might involve screwing down a plunger or pulling back on a syringe. The goal is to push the resin deep into the crack to ensure a strong bond.
Step 4: Cure the Resin
Once the resin is applied, carefully remove the applicator without disturbing the resin. Take your time to avoid any mishaps.
Place a curing strip over the repaired area if included in your kit, smoothing out any bubbles or wrinkles.
Allow the resin to cure by parking your car in direct sunlight or using a UV light. The curing time can vary, so refer to your kit’s instructions for specific details. Typically, it can take anywhere from 15 minutes to an hour.
Step 5: Clean Up
After the resin has fully cured, use the razor blade to gently scrape away any excess resin from the windshield. Be careful not to scratch the glass.
Finally, clean the repaired area and the surrounding windshield with glass cleaner to ensure the repair is clear and blends seamlessly with the rest of the windshield.
Tips for Success
Act quickly to repair chips or cracks to achieve the best results. Fresh damage is easier to fix than damage that has been exposed to the elements.
Avoid extreme temperatures during the repair process, as they can affect the resin’s performance.
Take your time with each step to ensure the best possible repair.
Investing in a good-quality repair kit can make a significant difference in the outcome of your repair.
When to Consult a Professional
While DIY repairs are suitable for minor chips and cracks, there are situations where consulting a professional is advisable. Large cracks longer than a few inches, damage directly in the driver’s line of sight, or severe damage with multiple chips and cracks should be professionally repaired or replaced to ensure maximum safety and visibility.

Conclusion
Repairing your car’s windshield can seem intimidating, but with the right tools and a bit of patience, it’s a manageable DIY project. By following these steps, you can save money and extend the life of your windshield. Remember, if the damage is severe or in the driver's line of sight, it’s best to consult a professional.
By taking care of minor windshield damage yourself, you can maintain the safety and appearance of your vehicle without the need for costly professional repairs. However, knowing when to seek professional help is equally important to ensure your safety on the road.
Repairing your windshield promptly not only improves visibility but also prevents the damage from spreading. So, get started on your DIY windshield repair today and drive safely with a clear view ahead!


